


Hey there! I'm a supplier of PVC Ceiling Panel, and I often get asked about how to install PVC ceiling panels on a sloped ceiling. It might seem like a tricky task, but with the right steps and a bit of patience, you can achieve a great result. In this blog, I'll walk you through the whole process.
Why Choose PVC Ceiling Panels?
Before we dive into the installation process, let's quickly talk about why PVC ceiling panels are a great choice. They're affordable, lightweight, and easy to clean. Plus, they come in a wide range of colors and designs, so you can find something that fits your style. Whether you're going for a modern look or a more traditional vibe, PVC ceiling panels have got you covered. And if you're also looking to spruce up your walls, check out our PVC Wall Panel options too.
Tools and Materials You'll Need
First things first, gather all the tools and materials you'll need for the installation. Here's a list to get you started:
- PVC ceiling panels
- Measuring tape
- Saw (a hand saw or a power saw will work)
- Drill
- Screws or nails
- Adhesive (optional, but it can provide extra stability)
- Level
- Safety goggles and gloves
Step 1: Measure the Ceiling
The first step in any installation project is to measure the ceiling accurately. Use a measuring tape to measure the length and width of the sloped ceiling. Make sure to measure at multiple points to account for any irregularities. Write down these measurements so you can refer to them later.
Step 2: Plan the Layout
Once you have the measurements, it's time to plan the layout of the PVC ceiling panels. Start by determining the direction in which you want to install the panels. You can install them horizontally, vertically, or diagonally, depending on your preference and the look you're going for.
Next, mark the center of the ceiling using a chalk line or a straight edge. This will help you keep the panels aligned and centered. If the ceiling has any angles or curves, you may need to make some adjustments to the layout.
Step 3: Cut the Panels
Now it's time to cut the PVC ceiling panels to fit the sloped ceiling. Use a saw to cut the panels to the appropriate length and width. Make sure to wear safety goggles and gloves to protect yourself from any flying debris.
If you're using a hand saw, make sure to use a fine-toothed blade to get a clean cut. If you're using a power saw, follow the manufacturer's instructions for the best results.
Step 4: Install the Furring Strips
Furring strips are thin strips of wood or metal that are used to create a level surface for the PVC ceiling panels. They also provide a place to attach the panels.
To install the furring strips, use a drill to attach them to the ceiling joists. Make sure the furring strips are level and evenly spaced. You can use a level to check the alignment.
Step 5: Attach the Panels
Once the furring strips are installed, it's time to attach the PVC ceiling panels. Start at one end of the ceiling and work your way across. Use screws or nails to attach the panels to the furring strips. Make sure to space the screws or nails evenly to provide adequate support.
If you're using adhesive, apply a thin layer to the back of the panel and press it firmly against the furring strips. Use a roller or a brush to smooth out any air bubbles.
Step 6: Trim the Edges
After all the panels are installed, you may need to trim the edges to give the ceiling a finished look. Use a saw to cut off any excess material. Make sure to measure twice and cut once to avoid making any mistakes.
Step 7: Finish the Installation
Once the panels are installed and trimmed, it's time to finish the installation. Use a caulk gun to fill in any gaps or seams between the panels. This will help to prevent air and moisture from getting in.
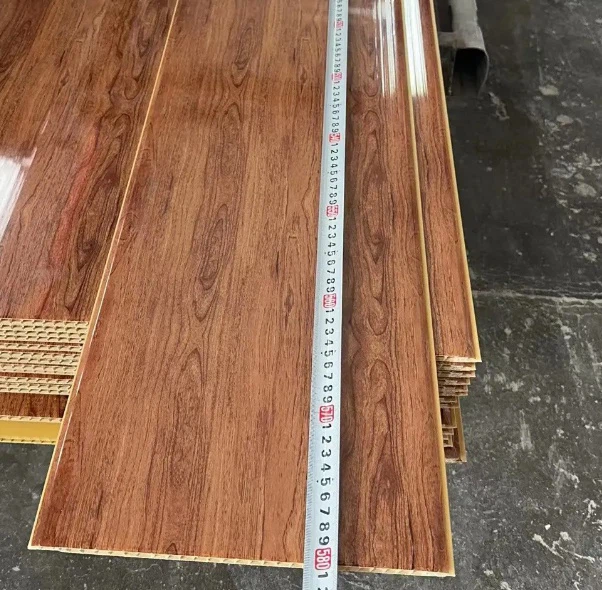

You can also paint the PVC ceiling panels to match the rest of the room. Make sure to use a paint that is specifically designed for PVC surfaces.
Tips and Tricks
- If you're installing the panels on a curved or angled ceiling, you may need to use a flexible PVC ceiling panel. These panels can be bent to fit the shape of the ceiling.
- Make sure to leave a small gap between the panels and the walls to allow for expansion and contraction.
- If you're using screws to attach the panels, make sure to countersink them to prevent them from sticking out.
- If you're installing the panels in a bathroom or a kitchen, make sure to use a moisture-resistant adhesive to prevent the panels from warping or peeling.
Conclusion
Installing PVC ceiling panels on a sloped ceiling may seem like a challenging task, but with the right steps and a bit of patience, you can achieve a great result. By following the steps outlined in this blog, you'll be able to transform your sloped ceiling into a beautiful and functional space.
If you have any questions or need further assistance, please don't hesitate to contact us. We're here to help you with all your PVC ceiling panel needs. Whether you're a DIY enthusiast or a professional contractor, we have the products and expertise to get the job done right. So, what are you waiting for? Start your PVC ceiling panel installation project today!
References
- Home Improvement Magazine
- DIY Network
- PVC Ceiling Panel Manufacturer's Guide


